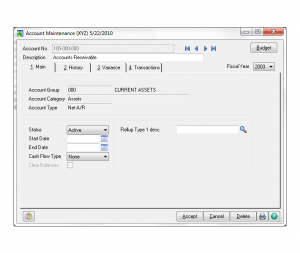
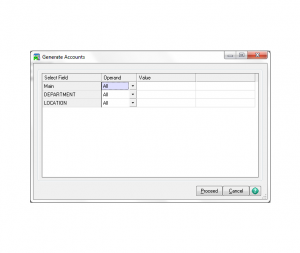
february, 2020
This is a repeating eventjanuary 27, 2020 9:00 ammarch 23, 2020 9:00 am
Event Details
Sage 100 ERP Training Sage 100 General Ledger View Additional Training Classes Arlington Heights, Chicago Illinois Sage 100 ERP training
more
Event Details
Sage 100 ERP Training
Sage 100 General Ledger View Additional Training Classes
Arlington Heights, Chicago Illinois
Sage 100 ERP training will improved your employee performance. Employee’s who understand how to use Sage 100 are able to complete tasks correctly. A training program will strengthen and improve skills for each employee. Take employees to a higher level of increased efficiencies in processes, resulting in financial gain. Give us a call today.
Lesson Plan
Sage 100 ERP Training – Introduction & Objectives
- Define parameters for how General Ledger operates
- Learn how to define the account structure
- Create main account and sub account segment values
- Set up and maintain your chart of accounts
- Learn how to use roll-up types and roll-ups codes for sorting and selecting information on reports
- Print and create specific financial reports
- Delete, change, and copy accounts
- Enter and post general journal entries and transaction entries
- Learn how to create standard journal entries, allocations, and recurring journal entries
- Setup and enter budgets
- Review of reports available in General Ledger for tracking transactions
- close the period and year in General Ledger
What’s needed for General Ledger setup?
Before using General Ledger for a new company, you must complete the General Ledger system startup process. Before beginning the system startup process, gather the following information:
- The Chart of Accounts
- Last Trial Balance from the last completed accounting period
- Copies of your latest financial statements
Steps for setting up the General Ledger
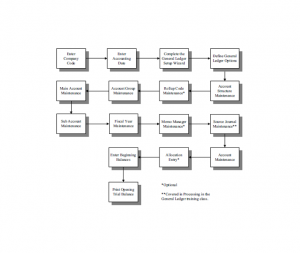
- Enter the Company Code
- Set the Accounting Date
- Complete the General Ledger Setup Wizard
- Define General Ledger Options
- Account Structure Maintenance
- (Rollup Code Maintenance)
- Account Group Maintenance
- Main Account Maintenance
- Sub Account Maintenance
- Fiscal Year Maintenance
- (Memo Manager Maintenance)
- Source Journal Maintenance
- Account Maintenance
- (Allocation Entry)
- Beginning Balance Entry
- Print Opening Trial Balance
Account Structure
- Structure is defined before any accounts are added
- Main Account
- Sub Accounts
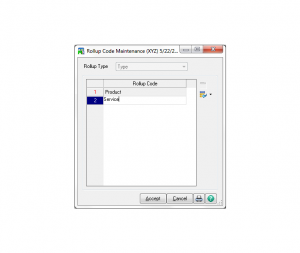
- Rollup Types & Codes (sort/selection option) – are user-defined fields you can use to sort and select account information on various reports in General Ledger, without affecting the structure of the account number.
- For each rollup type defined, you can create rollup codes in Rollup Code Maintenance. The rollup codes provide the sort and select options for the various rollup types defined.
- For example, you can use rollup types and rollup codes to track sales managers assigned to specific regions or locations.
– This is done by first creating a rollup type of Manager and then creating rollup codes identifying the rollup type (for example, Jane, Bob, and Sue).
– When creating the sales accounts, assign the appropriate rollup code to each account.
– The roll-up codes are then associated with accounts in Main Account Maintenance and Account Maintenance.
- The description entered for the roll-up type appears as a field name in Main Account Maintenance and Account Maintenance. Only those roll-up types with a description defined appear in these tasks.
- When printing various reports, including the General Ledger Detail Report and the Income Statement, you have the option of sorting and selecting information on the report based on a specific rollup type and rollup code.
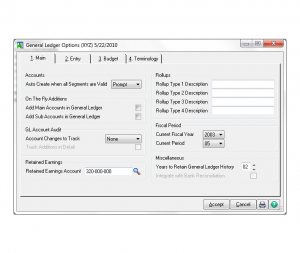
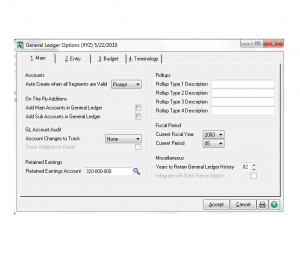
General Ledger Options – Main
- Auto Create when All Segments are valid
- Add Main & Sub Accounts in General Ledger (on the fly)
- Rollups
- Fiscal Period
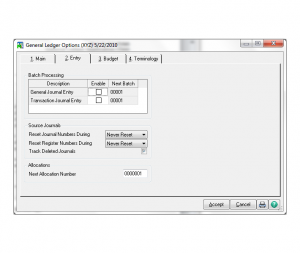
General Ledger Options – Entry
- Batch Processing
- Resets
General Ledger Options – Budget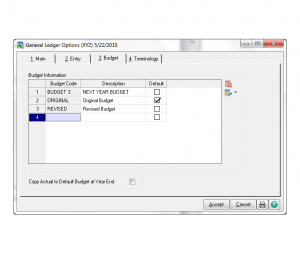
- Original & Revised (can’t be deleted)
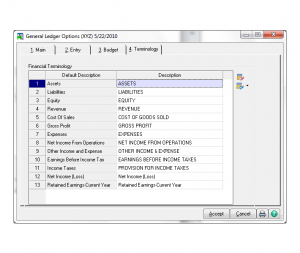
General Ledger Options Terminology
- For use in headers on the Financial Reports and Trend reports.
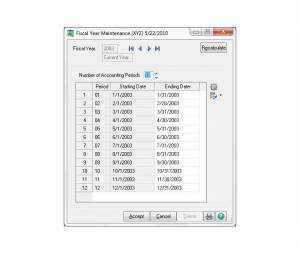
Sage 100 Fiscal Year Maintenance
Roll up Code Maintenance
- Assign security rolls to where memos can be created / viewed
Memo Manager Maintenance
- Assign security rolls to where memos can be created / viewed
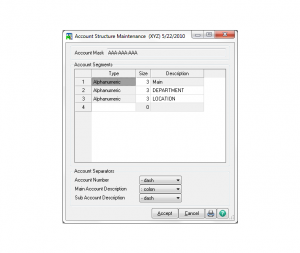
Account Structure Maintenance
- Define or Modify Account Segments
– max. 10 segments; max. 15 characters per segment
– max. 32 character accounts
– Patches and critical information regarding compatibility and known issues provided
- Main Segment
– The first segment is always the main segment. The size of the main segment is a minimum of 3 to a maximum of 15 characters.
– The main segment is used along with account groups to determine the type of account (for example, Asset or Liability).
– You cannot change the description; however, you can change the type and size of the segment.
– You must define main segment values before creating the actual chart of accounts.
– The main segment values are defined using Main Account Maintenance on the Setup menu.
- Sub Accounts
- Changing Structure
– cannot delete existing segments
– cannot decrease sizes segments
– cannot change alpha segment to numeric
– cannot location of segments
- Account Structure Change Wizard – appears when allowed changes are made to the structure to assist with updating the changes to existing accounts.
Account Groups
Use account groups to assign all main accounts of a specific account group to the same category and type. The account groups are also used on financial reports to print subtotals for each account type (for example, Current Liabilities) and to determine how to handle the balance at year end.
- Category – represents the different sections of financial statements.
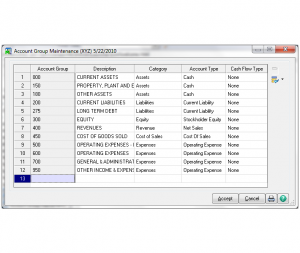
- Account Type – are determined by category for grouping on financial statements and analysis reports
- Cash Flow – used to classify cash flow account activity types
- Changing Account groups
– cannot change if assigned to main account
– cannot delete if assigned to main account
Sage 100 General Ledger Main Accounts
Main accounts must be defined before setting up accounts in account maintenance.
- Alphanumeric characters are valid
- Account Group is based on main account
- Account type and Cash Flow Type can be modified.
- Status
– Transactions cannot post to an account with a status of Inactive
– An account with a status of Deleted is removed after a year end where history has been completely purged.
- Clear Balances (for non-financial category only)
- Rollups
- Copy
– can be used only after sub accounts are defined
- Apply
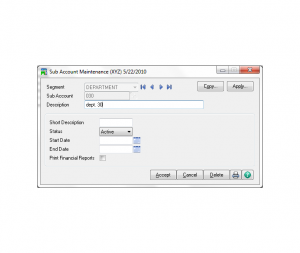
Sub Account Maintenance
- Unlimited sub account values can be defined for each segment.
- Copy
- Apply
Account Maintenance
Use Account Maintenance on the Main menu to add to and maintain the chart of accounts and to review account information. Before entering your account numbers, verify the account structure, account groups, main accounts, and sub account values are defined properly.
Account Maintenance Main
- Changing the status, start date, or end date does not change this information for the main account and sub account values in Main Account Maintenance and Sub Account Maintenance.
- If the account group, category, or account type is incorrect for the account entered, verify the main account value was defined correctly in Main Account Maintenance.
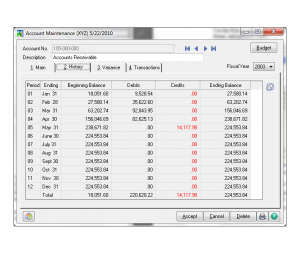
Account Maintenance – History
- Figures on this tab are used for financial statements.
- You can only modify the amounts by posting a journal entry or by updating transactions in another module.
- Information is retained based on settings defined in General Ledger Options.
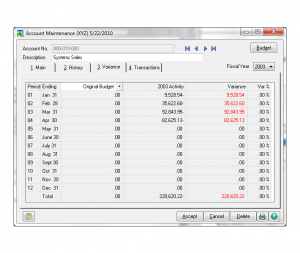
Account Maintenance – Variance
Account Maintenance – Transactions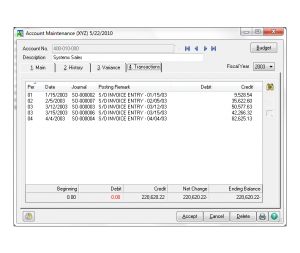
- Search for transactions
- Drill down to transaction
- Drill down to journal
- View extended comment
Account Maintenance – Budget Button
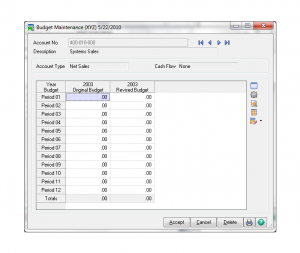
Account Maintenance – Account Entry Window
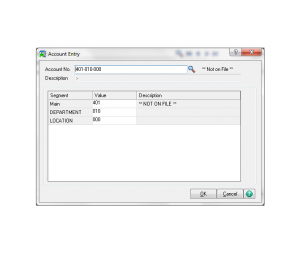
- Displayed if invalid value is entered
Generate Accounts
Use Generate Accounts on the Utilities menu to create multiple accounts at one time. The accounts are created based on a selection criteria defined for each of the account segments. For example, you can select to create accounts for all combinations of the main and sub account segment values.
- Unlike the Copy Accounts option in Main Account Maintenance and Sub Account Maintenance, Generate Accounts allows you to create accounts based on a range for all account segments.
- The accounts created using this task have default settings based on those defined for the main and sub account values in Main Account Maintenance and Sub Account Maintenance.
Additional – Sage 100 ERP training classes
- Bank Reconciliation
- Barcode
- Accounts Payable
- Accounts Receivable
- Inventory
- Purchase Order
- Purchase Agent
- Production Manufacturing
- Return Material Authorization
Included with your Sage 100 ERP Training Class
– CPE Credits
– Glossary of Accounting Terms
– Certificate of Completion
– 100% Guarantee or Return for Free
– Check Register
– Accounting Software Guide
– Month End Checklist
Sage 100 Training Questions and Answers:
Are you ready to get the most from your Sage 100 ERP software in Chicago Illinois? Additional services include data conversion and integration services to other software applications.
Mission statement
Helping small businesses select and understand how to use Accounting and Business software.
Payment:
Payment in full is required at registration of your Sage 100 Training Class. Do not make travel arrangements until you have received registration confirmation. Accounting Business Solutions by JCS is not responsible for travel arrangements/accommodations. Product knowledge is not required. Basic Bookkeeping skills are reviewed in the class. Each class has a maximum of 6 students. CPE accredited classes taught by a Certified Sage 100 Consultant. Certification of Completion provided after course fulfillment. Upon confirmation of enrollment we advise you to make travel arrangements. Refunds are subject to a $50 administrative fee. The class may be rescheduled with no administrative fee. Call Now Toll Free 800-475-1047 or visit us on line www.jcscomputer.com to learn more about your next Chicago Illinois Sage 100 ERP Training Class.
Time
(Monday) 9:00 am - 4:00 pm
