How to use Sage 100 Sales Order Data Entry – Steps To Create Sage 100 Sales Order
How to use Sage 100 sales Order
These are the steps to enter a Sage 100 Sales Order
Step 1 Sage 100 sales order:
Once you have launched Sage 100 you can select Sales Order Entry from the Sales Order Main Menu. It is also very easy to add this menu option to your personal menu (favorites)
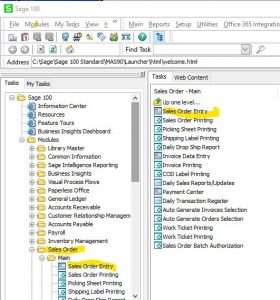
When first accessing the program Sage will prompt you for an accounting date. Enter today’s date.
Step 2 Sage 100cloud sales order:
Click the Spyglass icon to open an existing Order. Select an Order Number in the list and click Select to open the Order.
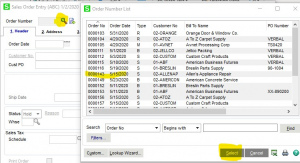
The Sales Order Maintenance form then opens.
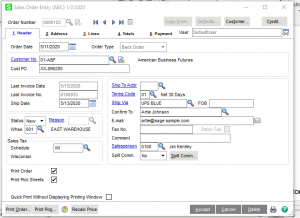
Step 3: enter information and review all file tabs in Sage 100cloud sales order entry
Maintain header tab information as needed.
Ship to address for this order can be selected.
Ship via can be assigned or changed. Use the Spyglass next to the Ship Via text to change to another shipping method.
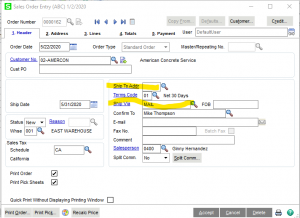
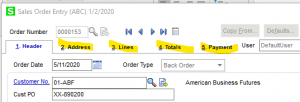
Click on Address Tab, Lines tab, Totals tab or Payments tab for additional order information.
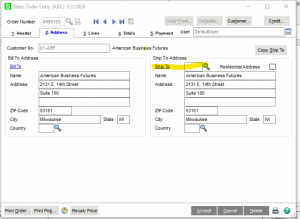
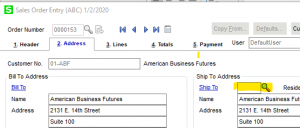
Maintain Address Information, click on Address tab. Update Ship To information as needed.
Click on ‘Ship To’ blue text to maintain Ship To addresses for customer.
Use Spyglass on Ship To line to select an existing Ship To for customer.
Customer can have unlimited number of ship to addresses. Select ship to address from list.
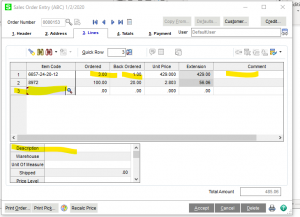
Click on Lines Tab to update Order Lines detail information.
Update Order quantity, Back Order quantity, Comment information for Line or Description for Line Item. Select the line item row to maintain the Description for the line item. Then update the Description.
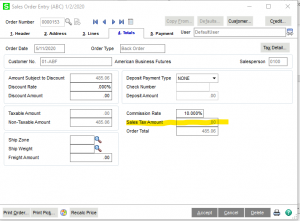
Click on the Totals tab to review totals update tax information, if needed.
Step 4 Save the new sales order:
Click Accept to save changes to the Sales Order. Give us a call to learn more 800-475-1047
